SHARE
Ductile Iron Pressure Pipe Condition a Mystery, and Time to Inspect?
- By: Chris MacDonald, President and CEO
Acquaint’s Acquarius in-line inspection technology yields results and data in a single run that provide a valuable roadmap to create a Proactive Asset Management Program.
The primary challenge with any in-line inspection technology comes down to the unknown conditions and variables. When evaluating different options, understanding the value and limitations is critical in making decisions on which technology is best suited for the application. In all instances the purpose of the inspection is to obtain visibility of the system and determine where extreme degradation or damage has occurred to develop a management plan to repair, rehabilitate, or replace. Having inspection data as the cornerstone of the asset management program ensures:
- Investments in infrastructure don’t occur after failures.
- Investments in infrastructure are not premature.
- Investments are not excessive, and properly budgeted based on the remaining useful life.
Options for evaluating the condition of cement lined ductile iron pipe are electromagnetic or multi-sensor with ultrasound based sensor technology on board. When considering electromagnetic technology, the limitations and benefits are well covered in the AWWA M77 manual of practice for condition assessment. While electromagnetic technology can deliver valuable defect detection, many factors can influence the signals and deliverables.
For decades electromagnetics have been used through various platforms to deliver wall condition data. The signals are compared to historical data, often not calibrated to the actual pipe that’s undergoing inspection. These signals are interpreted by software, or highly skilled analyst to determine a level of degradation in the location where the indication has occurred. The results are subjective, and can be skewed by outside factors such as stray current, and resolution. Due to the interpretation of the data, the actual degradation is often less than reported. However, these limitations are not reasons to discontinue utilizing electromagnetics, as it has been historically proven to help provide necessary data required to focus renewal efforts.
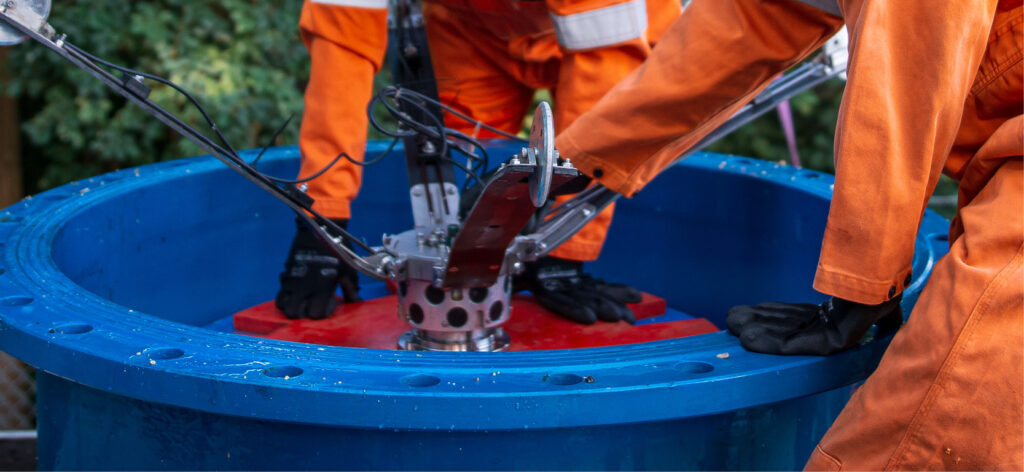
Acquaint’s Acquairus in-line inspection tool with multi-sensor technology provides precision ultrasonic measurements on a platform capable of deployment in line with minimal to no system shutdown. The technology is easily deployed through a wye or tee connection, either existing or installed for the purpose of inspection. The soft foam pig deployment system is used for swabbing the pipe, is very forgiving, allows navigation of complex geometry, and introduces minimal risk to the system as it requires a small pressure differential of 3-5psi required to travel successfully through the pipeline.
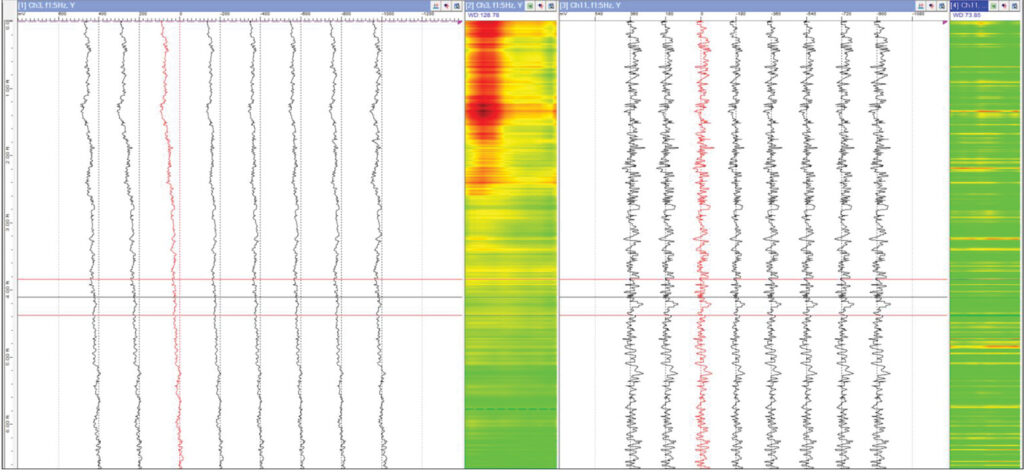
Ultrasonic technology has some limitations, however compared to electromagnetics, the measurements are absolute. Depending on the footage inspected and sensor array, millions of data points are collected to provide average thickness and minimum measurements across a segment of pipe. The measurement accuracy when detecting wall thicknesses through a single layer is 0.5mm. Through multiple layers, as in the case of cement lined ductile iron, accuracy is 1mm. Much like electromagnetics, ultrasonic technology coverage will not be 100%. Analysts have found when comparing the technologies, value of data is high, and the likelihood of locating the areas in the worst condition is also very high.
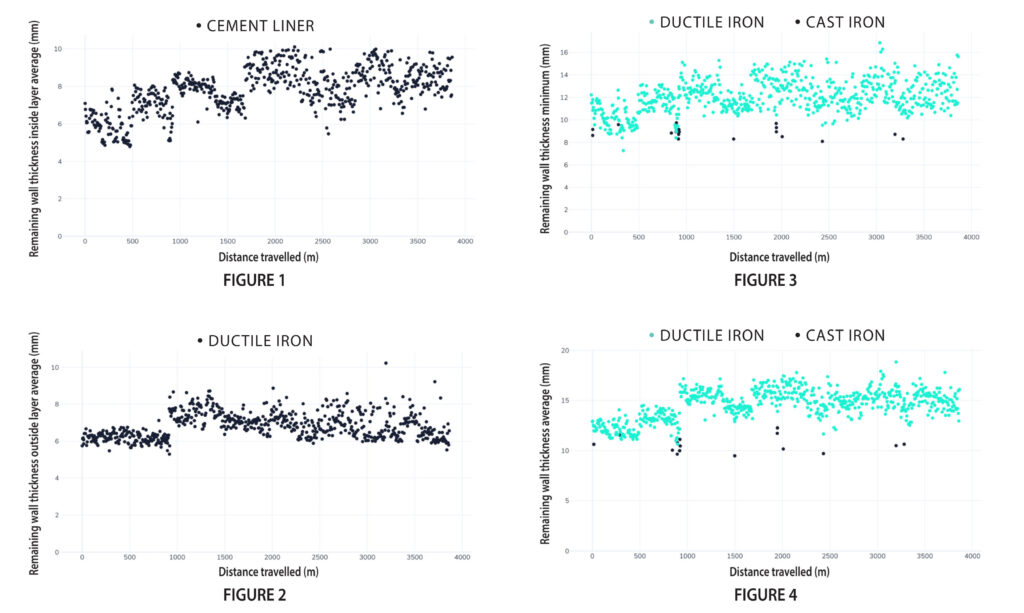
The Acquarius tool is equipped with multiple sensors including ultrasonic (UT), inertial measurement unit (IMU), magnetic field wave (MFW) and hydrophones that collect UT data in combination with other measurements to gain a better overall understanding of the pipeline’s condition. For example, cement lining missing from the interior of a pipe wall, is very visible through UT measurements, even if the metallic pipe wall is in good condition in the same area. As the liner may have recently failed, this is an area of concern, and will require repair or monitoring. If the liner is tightly bonded to the pipe wall, and thickness is similar there will be inner and outer wall reflections that will point to external corrosion occurring on the ductile iron pipe. If liners are missing indications will be highly accurate and reflect the precise measurements of the ductile iron layer. Liner that has dis-bonded from the pipe wall, but still intact, will also be reported. This data is critical to understanding the threat associated with the anomaly. Details reported will show the average and minimum lining thickness, as well as the average and minimum ductile iron wall thickness throughout the pipe alignment. Shown in figures 1-4 below.
Clients often question whether every minor defect will be picked up when using the various available technologies and techniques. The answer across the board is no. The most severe areas of corrosion will be detected. Based on CPM Pipelines’ experience, these locations are unchecked for many years, and are broad in reach before a failure occurs.
In addition to the information collected related to thickness of the liner and pipe material, additional information is logged. The on board IMU collects data related to joint deflection both vertically and horizontally, gaps at the joints, that could indicate a pipe was assembled incorrectly or is pushing apart from thrust forces. The data helps to calibrate and locate the defects indicated by the UT circumferentially, which is important when analyzing the cause of the corrosion or erosion in the pipe wall. The hydrophones detect active leaks, while the UT sensors detect gas pockets. In addition, the multi-sensor nature of the technology collects data related to the pipeline hydraulic profile, pressure, debris in the pipe, and delivers sub meter accuracy (within 1.5 feet), and XYZ mapping that allows for highly accurate location results. Deliverables can be downloaded to the clients’ GIS system.
The combination of ultrasound, inertial measurement unit, hydrophones, and magnetic field wave technologies in a single inspection run, yields results and data collected that provide a valuable roadmap to efficiently managing and maintaining critical pipeline assets. This is what truly sets the Acquarius tool apart from other electromagnetic technologies that collect wall defects without additional data to quantify the results obtained.


